As an Amazon Associate I earn from qualifying purchases.
How to Prevent Knee Pain when Hiking
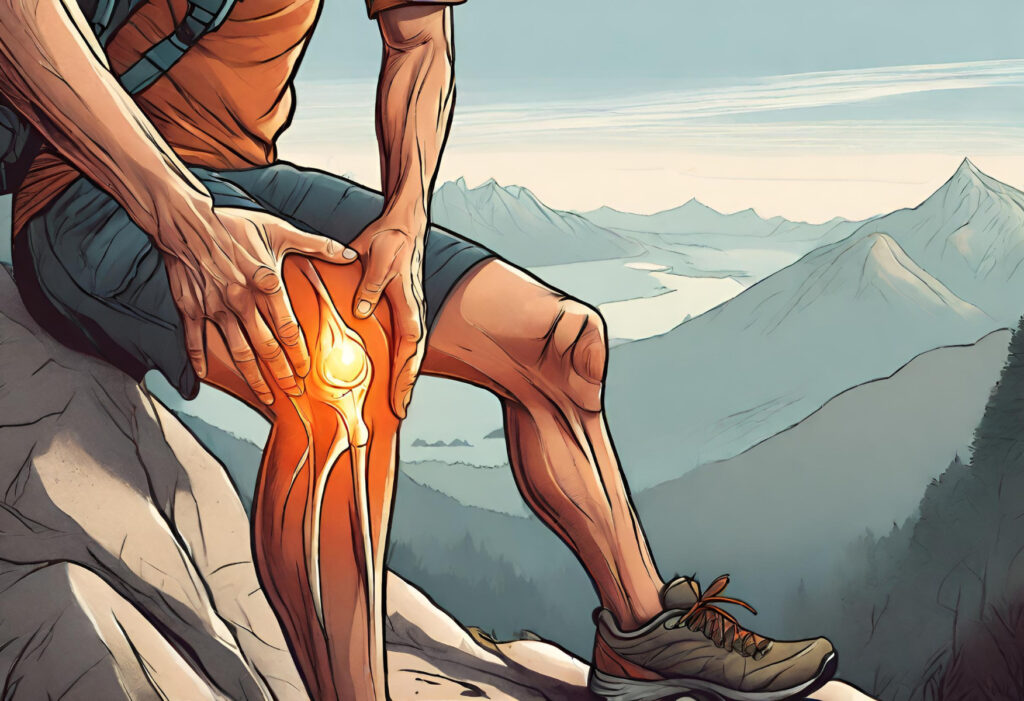
Are you ready to hit the trails and conquer those mountains? Hiking and trekking can be exciting and adventurous, but they can also take a toll on your knees. If you want to enjoy long hikes without the fear of knee pain or injury, this guide is for you. We’ll explore common reasons for knee injury and knee pain when hiking, long-term remedies to help avoid surgery and painkillers, knee-friendly hiking techniques, and touch upon some gear and posture adjustments to improve your hiking experience. We’ll also provide a sample home workout program to strengthen those crucial knee-supporting muscles.
Table of Contents

Common Causes of Knee Pain When Hiking
Overuse and Strain
Overusing your knees by pushing too hard or hiking for extended periods without adequate rest can lead to knee pain. Strain can also occur if you suddenly increase the intensity or duration of your hikes.
Plan your hikes carefully, gradually increasing their intensity, and allow your knees to rest. Listen to your body – if you start feeling pain, take a break.
Improper Footwear
Wearing the wrong shoes or shoes that don’t fit properly can put extra strain on your knees. Insufficient cushioning and poor arch support can also lead to discomfort and pain.
Invest in high-quality hiking boots or shoes that provide proper arch support, cushioning, and a snug fit. Make sure they are suitable for the type of terrain you’ll be hiking on. If you’re into minimalist shoes, like some of us are, a solid pair of Lems or Xeros may be all you need. That is, of course, if you’ve already spent the time strengthening those arches!
Uneven Terrain
Hiking on rough, uneven surfaces can be hard on your knees. Steep inclines, rocky trails, and downhill descents can cause stress on your knee joints.
Maintain a slower pace and choose trails that match your skill level. Use hiking poles for stability, especially when navigating downhill sections.
Long-Term Remedies for Knee Pain
- Strengthening Exercises: A strong set of muscles around your knees can provide crucial support. You can perform body-weight exercises at home, such as squats, lunges, and leg lifts, to strengthen your quadriceps and hamstrings.
- Stretching: Regularly stretch your leg muscles, particularly your quadriceps, hamstrings, and calf muscles. Stretching can improve your joint flexibility and reduce the risk of injury.
- Foam Rolling: Foam rolling is an effective technique for relieving knee pain and promoting overall knee health. It can be a valuable addition to your home remedies for strong knees on your hiking journey.
- Healthy Diet: Maintaining a balanced diet rich in anti-inflammatory foods like fruits, vegetables, and omega-3 fatty acids can help reduce knee pain and inflammation.
Knee-Friendly Hiking Techniques
- Proper Foot Placement: Pay attention to your foot placement when hiking. Land on the balls of your feet (i.e. closer to your toes) and bend your knees slightly to absorb shock. Simply changing your landing could help.
- Hiking Poles: Using hiking poles correctly can significantly reduce the strain on your knees. They provide stability and help distribute your weight more evenly.
- Downhill Descents: When descending steep terrain, take small, controlled steps and keep your weight centered over your hips. Don’t lock your knees; instead, maintain a slight bend to absorb the impact.
Gear and Posture Adjustments
- Backpack Position: Ensure your backpack is positioned correctly on your back. It should sit snugly against your shoulders and upper back to distribute weight evenly.
- Weight Distribution: Pack your backpack thoughtfully, distributing the heaviest items closer to your back. This will help maintain your balance and reduce strain on your knees.
- Shoes and Insoles: Choose shoes with proper arch support and cushioning. Consider using custom insoles if you have specific foot concerns.
- Posture: Maintain good posture while hiking. Keep your back straight, and engage your core muscles to support your spine. This will help prevent additional strain on your knees.
Home Workout Program for Strong Knees
Here’s a simple body-weight workout program you can do at home to strengthen the muscles around your knees:
Warm-up (5 minutes): Start with light cardio like jogging in place or jumping jacks to get your blood flowing.
- Squats (3 sets of 10-15 reps): Stand with your feet shoulder-width apart. Lower your body by bending your knees and hips, keeping your back straight. Return to the starting position.
- Lunges (3 sets of 10-15 reps each leg): Step forward with one leg, bending both knees to create a 90-degree angle. Push off your front foot to return to the starting position.
- Leg Lifts (3 sets of 10-15 reps each leg): Lie on your back and lift one leg off the ground, keeping it straight. Lower it back down and repeat.
- Wall Sits (3 sets of 30-60 seconds): Lean against a wall with your back flat, lowering yourself into a seated position with your knees at a 90-degree angle. Hold this position.
- Calf Raises (3 sets of 10-15 reps): Stand with your feet hip-width apart. Rise up on your toes, then lower back down.
Remember to cool down after your workout with gentle stretches for your leg muscles.
Stretching for Healthy Knees
Stretching is an essential part of any knee care routine. It helps improve flexibility, reduce muscle imbalances, and maintain joint health. Here are some effective knee-specific stretches:
-
Quadriceps Stretch:
- Stand on one leg and bend your other knee, bringing your heel toward your buttocks.
- Hold your ankle with your hand and gently pull it closer to your body.
- Maintain balance and hold for 20-30 seconds on each leg.
-
Hamstring Stretch:
- Sit on the floor with one leg extended and the other bent so the sole of your foot is against your inner thigh.
- Reach forward with both hands, trying to touch your toes.
- Hold the stretch for 20-30 seconds on each leg.
-
Calf Stretch:
- Stand facing a wall, about an arm’s length away.
- Step one foot back and press your heel into the ground while keeping your back leg straight.
- Hold for 20-30 seconds on each leg.
-
IT Band Stretch:
- Cross one leg over the other and reach your arm over your head to the opposite side.
- Lean in the opposite direction to feel the stretch along your outer thigh.
- Hold for 20-30 seconds on each side.
-
Seated Knee Extension:
- Sit on the floor with your legs straight.
- Gently bend one knee and bring your heel towards your groin.
- Use your hands to assist in pushing your knee downward gently.
- Hold for 20-30 seconds on each leg.
Remember to perform these stretches regularly, especially before and after your hikes, to maintain knee flexibility and prevent knee pain and injury. Stretching helps prepare your knees for the stresses of hiking and aids in recovery afterward.
How To Foam Roll for Knees
Foam rolling helps to release tension in the muscles around your knees and improve flexibility. Here’s how to incorporate foam rolling into your routine:
1. Equipment and Technique: To get started, you’ll need a foam roller, which is a cylindrical tool made of dense foam. Follow these steps:
- Sit on the floor with your legs stretched out in front of you.
- Place the foam roller under one of your thighs, just above your knee.
- Use your hands to support your weight behind you.
- Slowly roll the foam roller up and down the length of your thigh, from above the knee to the hip, applying gentle pressure.
- When you find a tight or tender spot, pause and hold for 20-30 seconds to allow the muscle to release and relax.
- Continue this process for both thighs.
2. Frequency: Aim to foam roll your thigh muscles 2-3 times a week, especially after intense hiking sessions or as part of your recovery routine.
3. Benefits: Foam rolling can help reduce muscle knots, increase blood flow, and improve muscle elasticity, ultimately alleviating knee pain and preventing injuries. It’s an excellent way to target those hard-to-reach areas around your knees that can harbor tension.
4. Precautions: While foam rolling is generally safe, if you experience severe pain or discomfort, consult a healthcare professional. Also, avoid rolling directly on your knee joint, as this can potentially exacerbate any existing issues.
Incorporating foam rolling into your routine can be a game-changer for maintaining strong and pain-free knees. Just remember to approach it with care and consistency, and you’ll enjoy the benefits during your long hikes.
Conclusion: Strong knees make for longer, and happier, hikes
By following these tips and incorporating the workout program into your routine, you can develop strong knees for long hikes and enjoy the great outdoors with confidence. Remember, your health and well-being come first, so listen to your body and take the necessary precautions to avoid knee pain and injury on your hiking adventures. Happy hiking!
Amazon and the Amazon logo are trademarks of Amazon.com, Inc, or its affiliates.


